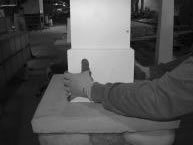
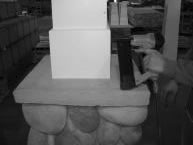
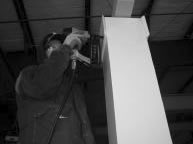
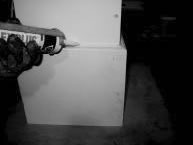
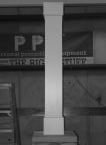
Installation Instructions for Square Non-tapered Column Wraps

At the Cheap Column site, we give you great prices on architectural columns that come with a limited lifetime warranty. We don't waste your time with a wordy sales pitch. We just give you a product description, the critical dimensions and a price quote. Example prices do not include shipping.

Installation for Craftsman Non-Tapered Columns

Caution: The precision machined edges of Poly-Classic Craftsman column components can be extremely sharp. Use of appropriate personal protection equipment is required.
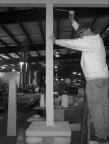
1
Measure overall opening from floor to beam or soffit (must have structural pressure-treated post or lally column for load support.)

Installation of Poly-Classic Craftsman columns.

2
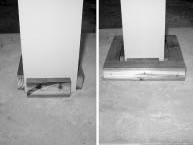
Install blocking around load bearing post (use pressure treated lumber.) Final width of blocking must be same width as inside of column.

Installation of Poly-Classic Craftsman column.

3
Install blocking around center and top of post to match step 2. (Center blocking is optional.) Blocking may be attached to deck/soffit instead of post if necessary.

Installation of Poly-Classic Craftsman column

4
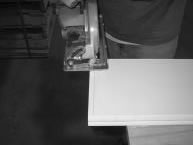
Trim shaft pieces at least ¼” shorter than opening height (from step 1). Trim ONLY from bottom - top end is marked.

Installation of Poly-Classic Craftsman column

5
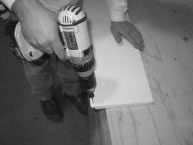
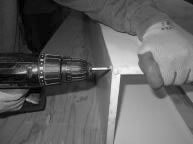
If you are going to use screws, pre-drill/countersink all panels. See joint diagram on next page to determine which edge to pre-drill.

Installation of Poly-Classic Craftsman column

6
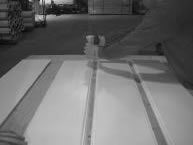
Lay 3 panels flat and apply adhesive to center joints. (Polyurethane glue is recommended. Follow manufacturers instructions.)

Installation of Poly-Classic Craftsman column

7
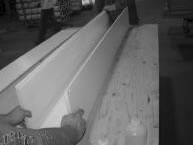
Assemble three panels, using E-Z lock joints.

Installation of Poly-Classic Craftsman column

8
If using screws, assemble three panels together using coarse thread galvanized screws (deck screws.)

Installation of Poly-Classic Craftsman column

9
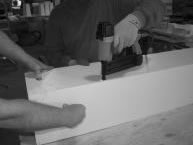
Or if you are not using screws, finish nail three panels together.

Installation of Poly-Classic Craftsman column

10
Place the partially assembled (3 panels) column around post and blocking.

Installation of Poly-Classic Craftsman column

11
Apply adhesive to final panel and attach to shaft using E-Z Lock joints.

Installation of Poly-Classic Craftsman column

12
Screw or nail final panel in place.

Installation of Poly-Classic Craftsman column

13
Screw or nail column to blocking ONLY ON THE BOTTOM. Do not attach at center or top (to allow for expansion.)

Installation of Poly-Classic Craftsman column

14
Apply adhesive to mitered ends of base moulding (9¼” tall) and assemble around bottom of column shaft.

Installation of Poly-Classic Craftsman column

15
Fasten joints on base with screws or nails.

Installation of Poly-Classic Craftsman column

16
The TOP of the shaft should NOT be fastened to the blocking, and there should be at least ¼” gap to allow for expansion (see step 4.)

Installation of Poly-Classic Craftsman column

17
There are TWO methods of attaching the cap. First, apply adhesive to mitered ends of cap moulding (7¼” tall) and assemble around shaft. Screw or nail joints.

Installation of Poly-Classic Craftsman column

18
Option 1: attach cap to soffit with construction adhesive and toenail to soffit. DO NOT ATTACH cap to column shaft if the cap is flush with soffit (allows expansion.)*

Installation of Poly-Classic Craftsman column

19
Option 2: Leave ¼” expansion room above cap, and pin-nail the cap to the column. Be sure pin-nails DO NOT reach the blocking inside!*

Installation of Poly-Classic Craftsman column

20
Caulk edges of base, cap, and nail or screw holes.

Installation of Poly-Classic Craftsman column

21
Clean surface of column with cleaner recommended by the paint manufacturer. Paint with 2 coats of acrylic latex paint.

Installation of Poly-Classic Craftsman column

Please note the correct assembly of the E-Z Lock joint shown at the left. The screws or nails MUST be installed only in the edges shown (3 and 4). Installing on the other edges may result in open seams. (Pre-drill if using screws.) 1) Glue both joint edges; slide 1st joint together 2) Push 2nd joint closed 3) Nail or screw this joint first 4) Nail or screw this joint second. Notes: Panels are marked "TOP" - trim from the bottom only. Cap and base pieces are also marked as "CAP" or "BASE". Only use non-corrosive fasteners - galvanized, stainless steel, etc. Always follow glue and paint manufacturer's instructions. *Column must not be allowed to collect water, debris, etc. If the top of the column extends beyond the soffit/beam, the cap must be flashed with lead, copper, aluminum, etc. to prevent accumulation.
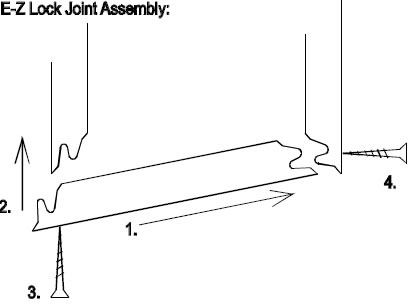
Diagram showing how to assemble PVC column wraps.


Cheap Column

Major Brands, Top Quality, Discount Prices
Made in the USA

Round Columns   Square Tapered Columns   Square Non‑tapered Columns   Pedestals   Porch Posts   Balusters

Email us for a price quote: pagliacco@comcast.net

Copyright © 2016-2024 · All Rights Reserved · pagliacco@comcast.net

Web Design & Hosting: Bolinas Road Creative